When I was a kid I think Easter was my favourite time of year. I think my brother would agree. It meant a week of camping in the bush with our cousins, smoky fires, bright stars at night, playing from dawn till dusk, getting dirty, building rafts, climbing trees, playing in the creek and having the most fantastic adventures! It also meant that on Saturday night we all made a very special Easter nest that we’d place inside our tent. Waking in the morning, we would find our nests full of shiny wrapped Easter goodies! And in pride of place, surrounded by little eggs, was our very special chocolate Easter Bunny!!!!!
 My favourite was the dark chocolate cherry ripe bunny, my brother Mitchell loved his crunchy honeycomb bunny, my cousin Kate had her white chocolate bunny and her brother David liked a dark one with little peppermint chips. Even as a kid I knew that if I ate too much of these goodies in one day, I’d get a headache, feel grumpy and tired and generally feel sick in the tummy.
This year, I plan on enjoying Easter by rehashing all our favourites in an indulgent, rich, delicious, yet healthy way! Here’s how:
First of all I bought myself some little heart shaped moulds a while ago. I have not yet mastered the art of making either an Easter egg or bunny, but I am sure there are plenty of Easter themed moulds out there! I’ll stick with my bite sized hearts for now. You can buy your own moulds, or if you don’t want the added expense, try ice-cube trays, or even setting your chocolate in thin sheets and breaking it into shards when set. The base ingredients will be similar in all these recipes, but please remember, I am not the best at measuring things in the kitchen. I throw most things in and add bits and pieces until it is right. I have guessed at these measurements so don’t take them as the hard and fast rule- experiment a bit! It’s half the fun! Now for the flavours:
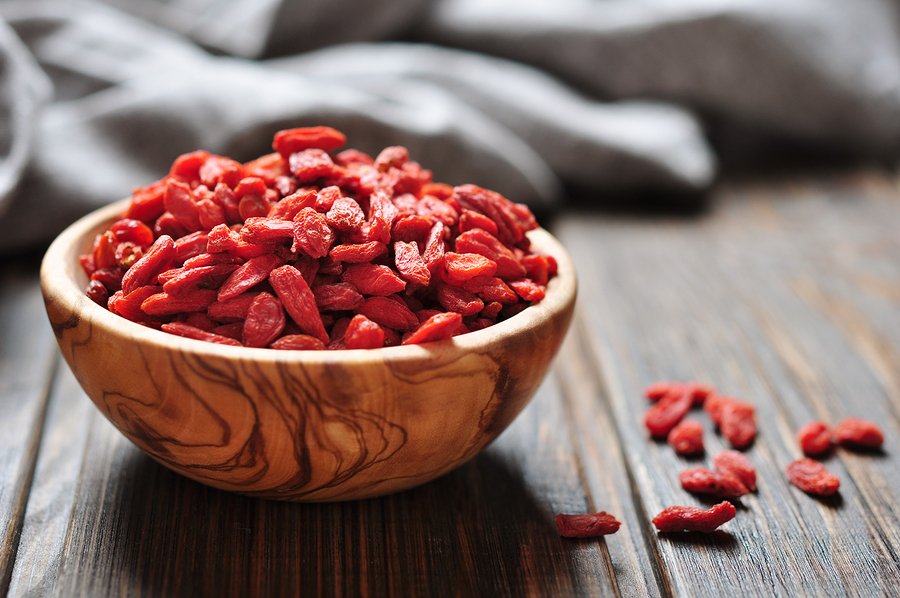
Berry Ripe:
I could use sour cherries for this, but they are very expensive, so I have decided to use a combination of dried goji berries and Inca berries (yellow gooseberries). I have also decided to toast my coconut, to give it a really rich flavour.
Ingredients:
Cacao butter 100gm
Coconut oil 1TBS
Coconut paste 1TBS
Coconut nectar to taste
Coconut palm sugar to taste
Celtic salt a pinch
Raw cacao powder 2TBS or more to taste
Chopped berries as many as you like
Toasted coconut 1-2TBS
Method:
Over a pan of boiled water place a glass, or metal bowl.
Place the cacao butter, coconut oil, coconut paste, salt and sugar in and stir until all melted.
Add coconut nectar and cacao powder and stir until smooth and to your sweet/chocolate liking.
Add the toasted coconut and stir through.
Place a few of the chopped berries in each mould and cover with chocolate.
If you are setting this in a tray you can mix your berries in or sprinkle them on the tray before pouring in the chocolate.
Place the moulds in the freezer to set. (This takes about 15 minutes!)
Crunchy Honeycomb:
In the past I have simply used some mesquite and lucuma powder to give this chocolate a hint of caramel-burnt toffee flavour, but I have just come up with something new, and I’m loving it!!!!
Ingredients:
Cacao butter 100gm
Coconut oil 1TBS
Raw honey to taste- start with 1 TBS
Celtic salt a pinch
Splash of vanilla extract
Raw cacao powder 2TBS or more to taste
1 tsp lucuma powder
Bee pollen
Cacao nibs (for the crunch!)
Method:
Over a pan of boiled water place a glass, or metal bowl.
Place the cacao butter, coconut oil, and salt in and stir until all melted.
Add honey and cacao powder and stir until smooth and to your sweet/chocolate liking.
Add the vanilla and lucuma powders and stir through.
Place a sprinkling of bee pollen and raw cacao nibs in each mould and cover with chocolate.
If you are setting this in a tray you can mix your bee pollen and nibs in or sprinkle them on the tray before pouring in the chocolate.
Place the moulds in the freezer to set. (This takes about 15 minutes!)
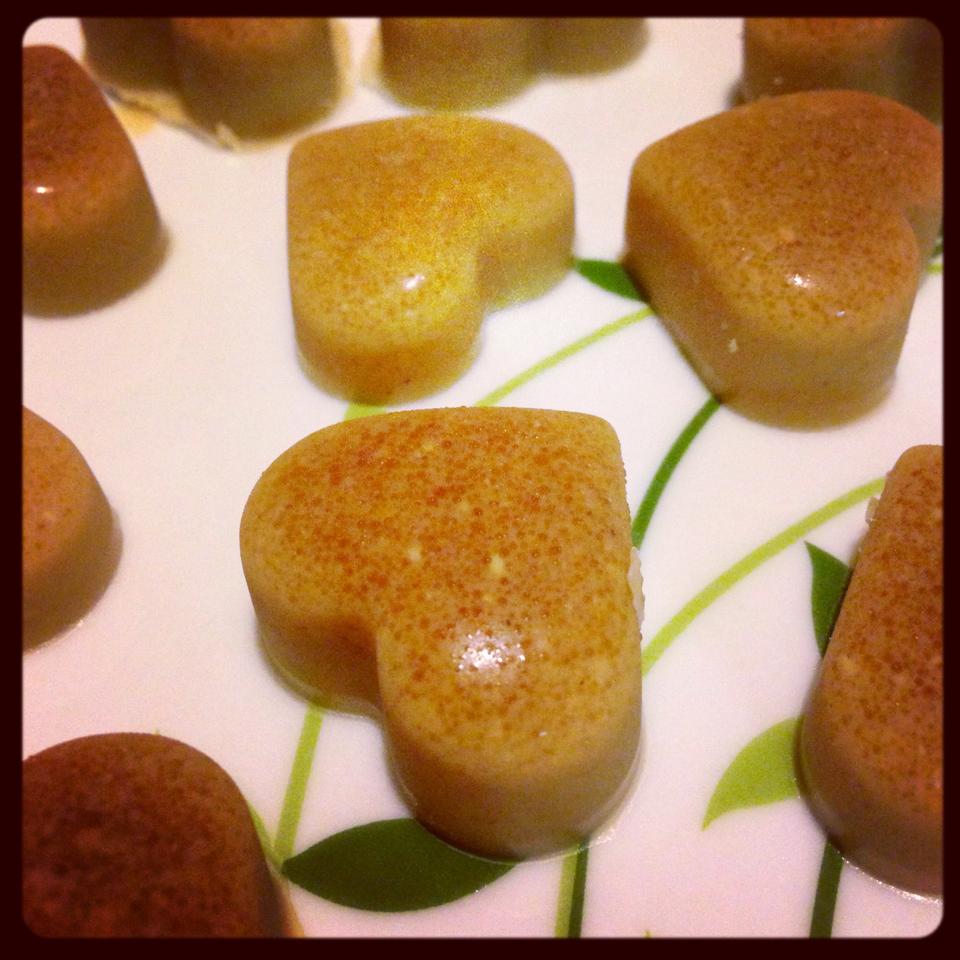
White Chocolate:
I never used to like white chocolate when I was a kid. It was way too sweet for me. It was only when I made my own vegan version that I discovered I liked it very much!!! Here is a pic of some I made a few weeks ago!
 Ingredients:
Cacao butter 100gm
Coconut oil 1TBS
Coconut paste 1TBS
Cashew butter 1/2 TBS
Coconut nectar to taste
Coconut palm sugar to taste
Celtic salt a pinch
Splash of vanilla essence
Lemon essential oil to taste (I use Do Terra which is an edible essential oil, you could use fresh lemon zest if you wanted)
Method:
Over a pan of boiled water place a glass, or metal bowl.
Place the cacao butter, coconut oil, coconut paste, salt and sugar in and stir until all melted.
Add coconut nectar, vanilla essence and lemon essential oil and stir until smooth and to your sweet, lemony liking.
Place the moulds or tray in the freezer to set. (This takes about 15 minutes!)
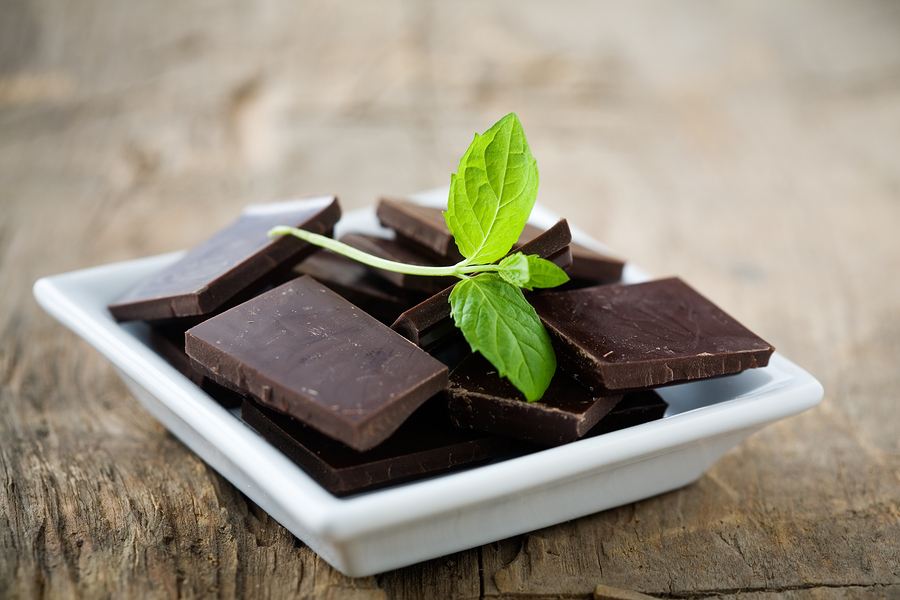
Mint Crunch:
This is another chocolate flavour I never liked much as a kid, but this one is the perfect after dinner treat. Just don’t have too many or they might keep you awake at night!
Ingredients:
Cacao butter 100gm
Coconut oil 1TBS
Coconut nectar to taste
Coconut palm sugar to taste
Celtic salt a pinch
Raw cacao powder 2TBS or more to taste
Cacao nibs (for the crunch!)
Peppermint essential oil to taste (I use Do Terra which is an edible essential oil)
Method:
Over a pan of boiled water place a glass, or metal bowl.
Place the cacao butter, coconut oil, salt and sugar in and stir until all melted.
Add coconut nectar and cacao powder and stir until smooth and to your sweet/chocolate liking.
Add the Peppermint oil until the mix is flavoured to your liking.
Either mix in or sprinkle the cacao nibs onto your mould/tray then pour in your chocolate.
Place the moulds in the freezer to set. (This takes about 15 minutes!)
The unfortunate thing about this chocolate is that is has a tendency to melt out of the freezer (which makes an awesome dipping sauce!). But if you want to enjoy your treats in the shape you froze them, perhaps getting one straight from the freezer is the way to go!
If you need a helping hand getting started in the kitchen, why not set yourself up with one of our Chocolate Making Packs? The easiest way to start!
So there you have it, not quite 100% raw, not quite 100% vegan but trust me, they are 100% delicious! Happy experimenting everyone!
![]()
No comments yet